

Getting Started Guide
Welcome to Maki!
As a new user of Maki, it is important to set up your account properly. This helps you make the most of all the features Maki offers.
1. General Settings
In this chapter, we will guide you step-by-step through the configuration process.
1.1 General Settings in 'Settings'
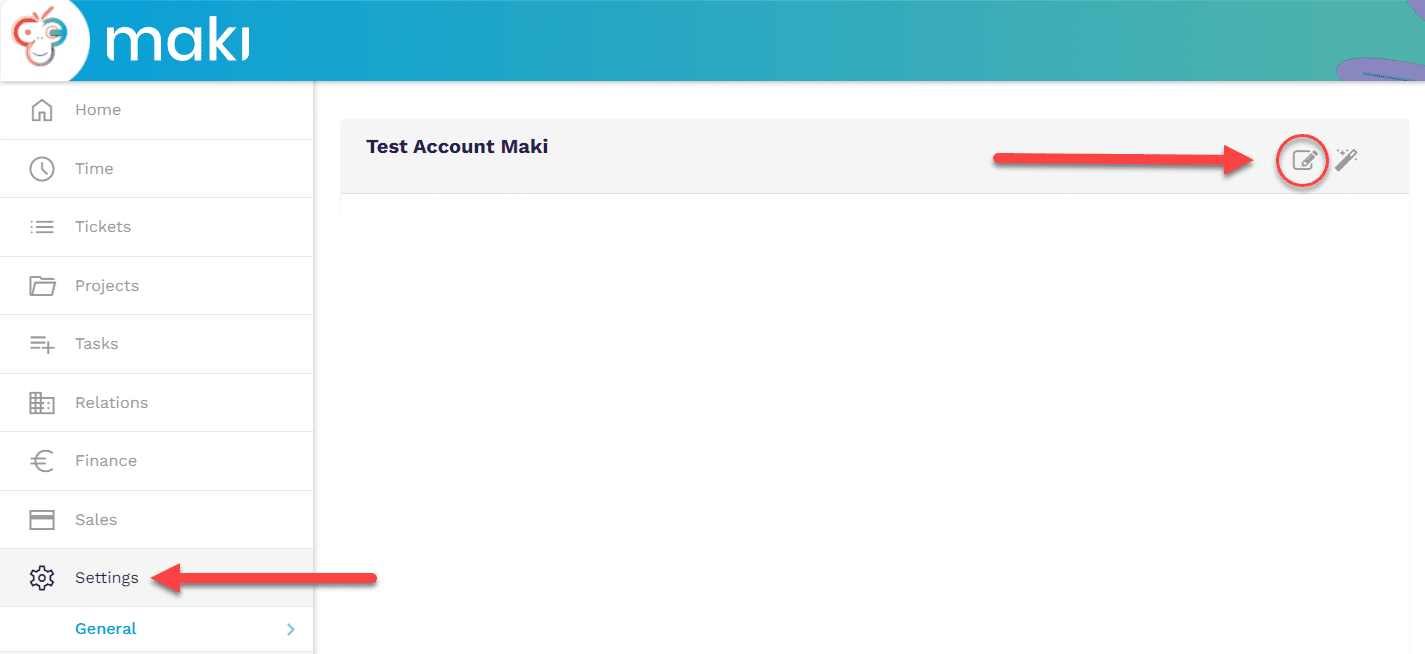
After creating your account, you will see two main pages: 'Home' and 'Settings'. Start by navigating to the 'Settings' page, as this is where you configure the basics of your Maki experience.
1.2 Uploading Logo and Avatar
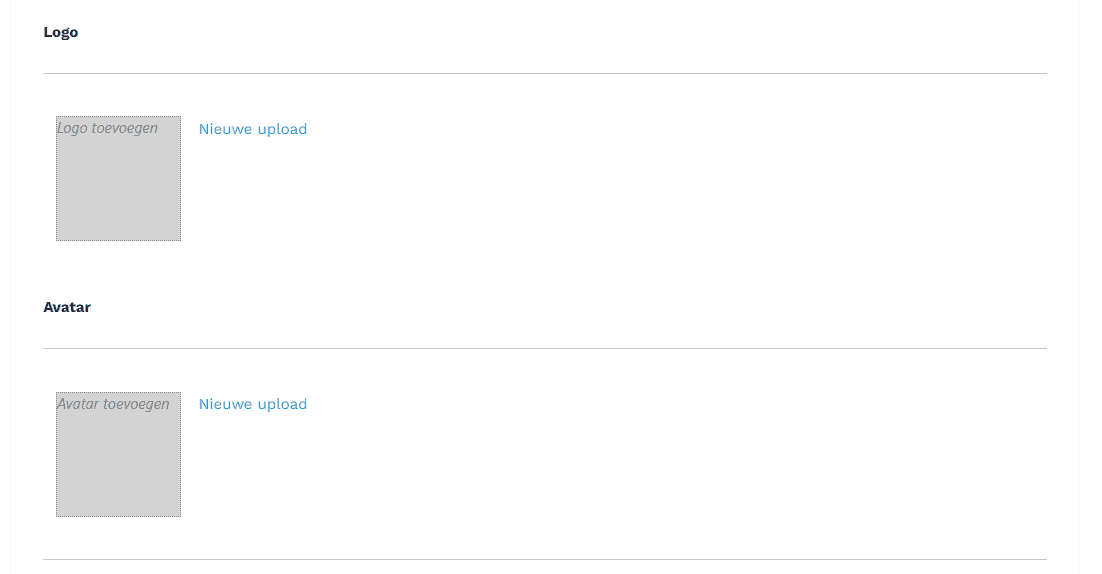
Logo: This is the image used in all your Maki templates, such as emails, invoices, and quotes. Choose a logo that well represents your brand.
Avatar: This is the profile picture shown in Maki. Choose an avatar that fits your professional appearance.
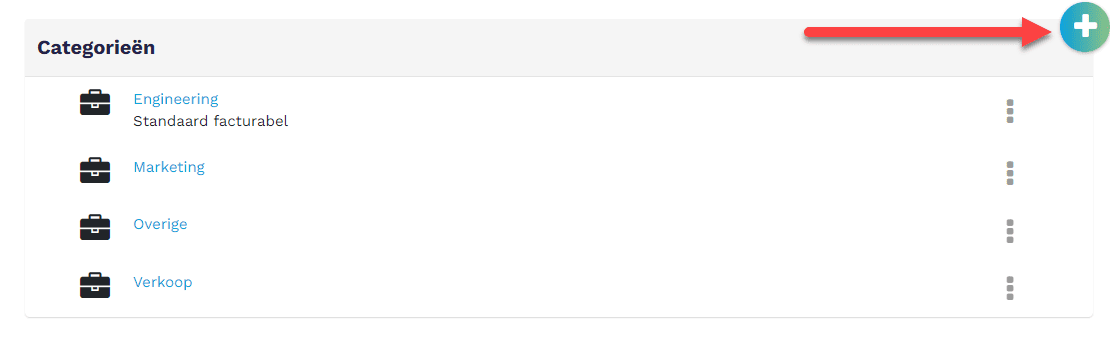
1.3 Creating Categories
Here you can create categories relevant to your business, such as Marketing or Sales. For each category, you can set a billable hourly rate, which is useful for projects and billing.
2. Activating and configuring
Maki offers a variety of modules that you can activate and set up as needed.
2.1 Activating and configuring modules
Below, we discuss some important modules:
Time registration Module
- Activate: Check the box to activate it.
- Configuration: Choose a default category for company notes, which you previously created in the categories section.

Ticket Module
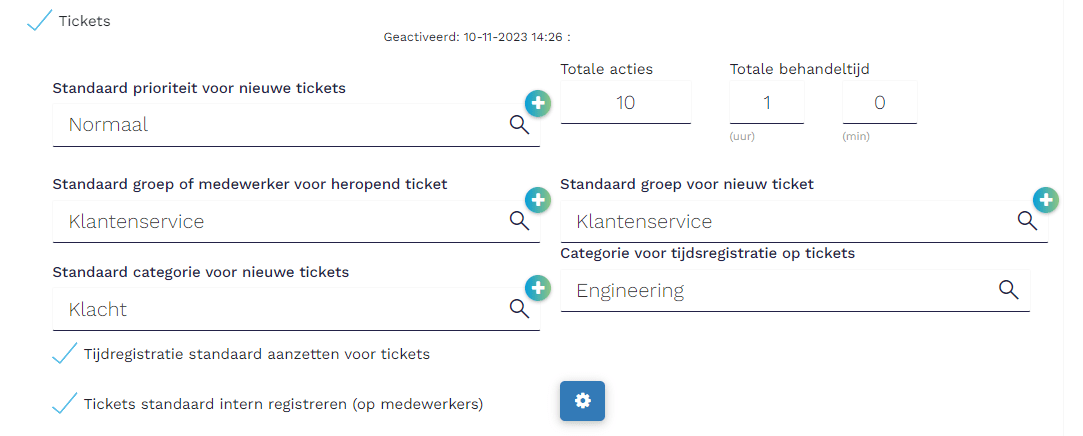
- Activate: Check the box to use it. Then it requires some configurations:
- Set Default Priority for New Tickets: To manage incoming tickets, set a default priority. To do this, click the plus sign to add a new priority, such as 'Normal', with a matching color. This priority will then be automatically applied to all new tickets.
- Default Group or Employee for Reopened Tickets: Determine who is responsible for reopened tickets. You can choose from existing employees or groups within your organization. If you don't have a suitable group yet, Maki offers the option to create a new group by clicking the plus sign. This ensures that reopened tickets are automatically assigned to the right people or teams.
- Default Group for New Tickets: This setting is similar to the previous one but is intended for all new tickets. Similar to reopened tickets, set a default group or employee for new tickets. This helps in effectively routing new tickets to the right department or employee from the moment they are created.
- Default Category for New Tickets: An important part of ticket management is categorizing tickets to easily identify and follow up on them. You can set a default category for new tickets by creating a new category, such as 'Complaint' or 'Request'.
- Time Tracking and Internal Ticket Registration: Choose whether you want to activate standard time tracking for tickets. This can be valuable for tracking the time spent on specific tickets. Additionally, you can choose whether tickets should be registered internally by employees by default, which can be particularly useful for internal processes and workflows.
API
- Purpose: The API module allows you to connect Maki to external applications.
- Activate: Check the module to make the API function available for your tenant.
Digital Signing
- Purpose: This integration allows you to digitally sign documents within Maki.
- Activate: Simply activate this feature by checking it.
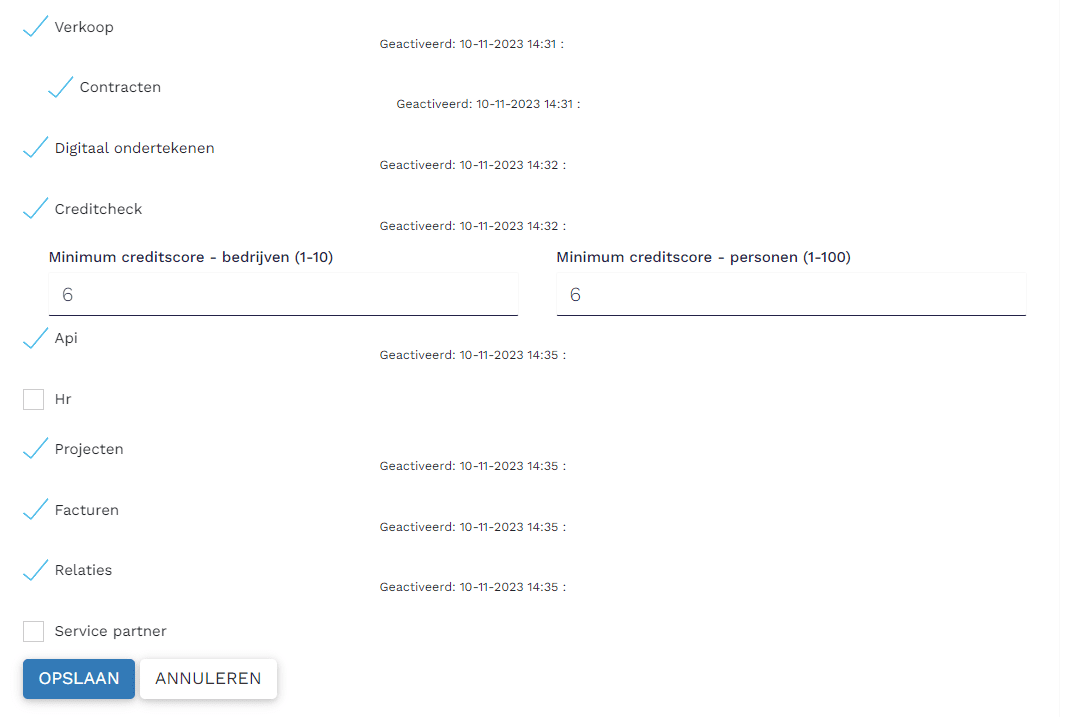
Credit Check
- Purpose: For checking the creditworthiness of companies and individuals.
- Activate: Easily activate this module by checking it and filling in the minimum credit score required for companies and individuals.
Service Partner
- Purpose: Suitable for situations where you have relationships that also use Maki and you want to route tickets between these relationships.
- Activate: Easily activate this module by checking it.
Other Modules
- Other modules like Sales, Invoices, and Projects offer specific functionalities and can be activated by simply checking them, requiring no further configuration.
2.2 Home and Settings Navigation
Once you activate the modules in Maki, you will notice significant changes in both the navigation menu and the home screen.
Menu Adjustments:
- In the menu on the left side of your screen, the activated modules are now displayed. From here, you can easily navigate to the different modules you have enabled.
Home Screen Widgets:
- The home screen, which was previously empty for a new account, is now filled with widgets related to the activated modules.
Questions?
Do you have any problems or questions regarding the set up of your Maki account? Please book a demo with us and we will show you around.